RECIPE BY: Priscilla Hart

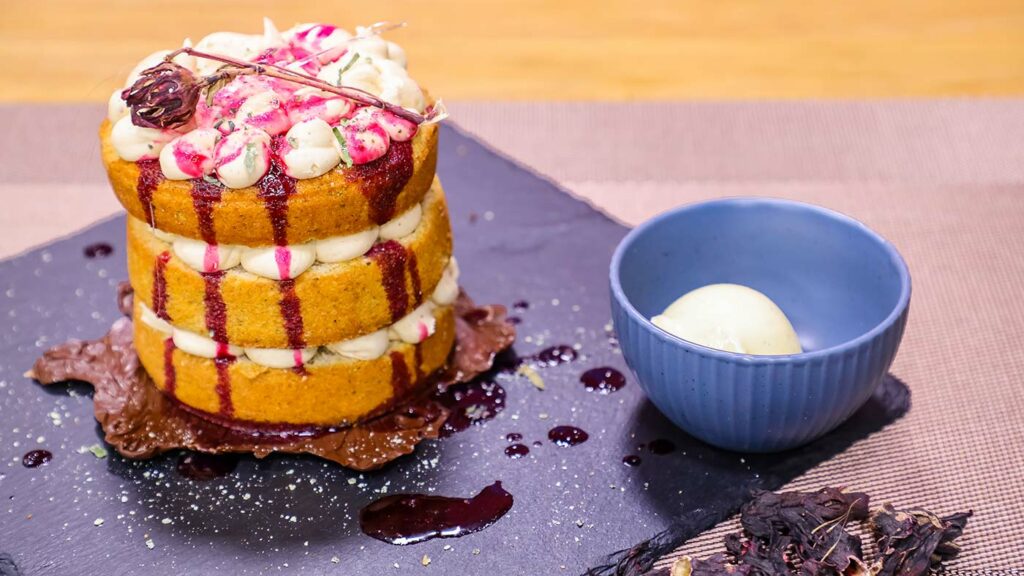
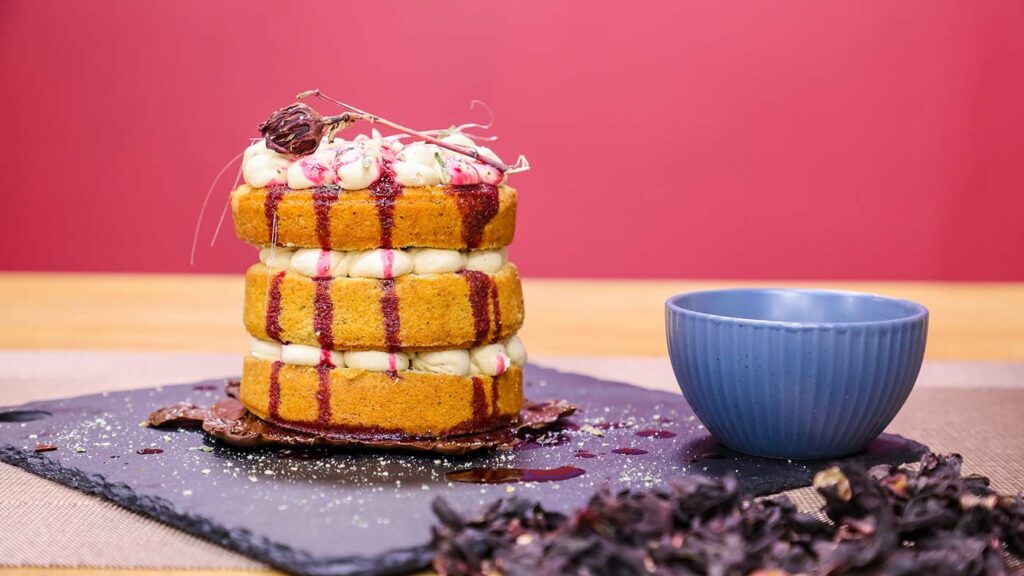
Vanilla Teff- & Pumpkin Seed Flour Cake with a Raw Peanut Butter Buttercream & served with with Vanilla Amasi Ice Cream and Hibiscus Gel
Vanilla Teff- & Pumpkin Seed Flour
4 each Eggs
1 ½ Cup Castor Sugar
½ each Vanilla Pod, halved and seeds taken out (use one half only here)
380 ml Cake Flour
100 ml Teff Flour
80 ml Pumpkin Seed Flour 10 ml Royal Baking Powder
2.5 ml Salt
250 ml Clover Full Cream Milk
125 ml Sunflower Oil
Vanilla Amasi Ice Cream
100 ml Clover Fresh Cream
½ each Vanilla Pod, halved and seeds taken out (the other half)
4 each Egg yolks
100 ml Caster Sugar
350 ml Clover Amasi
Raw Peanut Butter Buttercream
125 g Clover Butter, unsalted
375 g Icing Sugar
60 ml Raw Peanut Butter
Hibiscus Tea Gel
15 ml Hibiscus leaves, dried & crushed
250 ml Water
50 ml Cassava flour
50 ml Honey (flavour can be adjusted to desired sweetness)
METHOD
- Switch oven on at 180◦C.
- Grease and line 6-8 x 6inch round springform pans.
- Whisk the eggs, castor sugar and the one half of scraped vanilla seeds until light and creamy in texture.
- In the meantime, sift your flours and salt together. (if any little pieces of the pumpkin is still in the sieve, finally add to the mixture for added colour and crunch).
- Heat the Clover full cream milk with oil until just below boiling point.
- Alternatively add half flour mix and half Clover full cream milk to the egg mixture – give it a good whip, slowly incorporating and then few seconds on fast. Do this with the rest of the flour and Clover full cream milk, slowly incorporating and then a few seconds fast.
- Fill each 6inch springform tin 2/3 full with mixture, place in oven and bake for 20-25 minutes.
- To test if cakes are ready, lightly tap with your finger on the top – if it jumps back like a sponge, it’s ready – if not and the indent stays, it still needs a couple of more minutes to bake.
Once baked, remove from oven – immediately wrap in plastic and place in fridge to cool (this method keeps the moisture within)
For the Hibiscus Tea Gel:
- Add the dried hibiscus to your boiling water, immediate throw into a bowl, cover with clingwrap and leave in fridge until use – the longer it sits, the brighter the colour becomes;
For the ice cream:
- Whisk the egg yolks with one tablespoon of sugar until thick and creamy;
- In the meantime heat the Clover fresh cream, the left over caster sugar and the rest of the vanilla pod seeds just until boiling point;
- While egg mixture is mixing, slowly and carefully add the cream mixture to the egg mixture (adding too much too soon may scramble your eggs) and keep on mixing;
- Carefully pour mixture through a sieve into a pot and cook on low heat until just before boiling point – very important to NOT LET MIXTURE BOIL, it will curdle;
- Once starting to thicken slightly, like an egg custard, immediately take it off the heat and cool (if you have a blast chiller, place in blast chiller to cool completely);
- Once cooled, add your Clover Amasi and mix it very well.
- Add mixture to your ice cream machine and churn until frozen, cover with clingwrap and place in freezer until use;
For the Raw Peanut Butter Buttercream:
- Using the paddle attachment, mix the Clover unsalted butter until softened;
- Add the raw peanut butter and mix well;
- Add the icing sugar and slowly start to incorporating it – if buttercream is too stiff, add some more raw peanut butter until right consistency as desired – it should be able to keep it’s shape;
- Cover in clingwrap and set aside
For the Hibiscus Tea Gel:
- Remove the tea from the fridge, using a sieve over a pot, pour the mixture into the pot;
- Add some honey for a little bit of sweetness and bring to the boil;
- Mix the Cassava Flour with a bit of flour to get a “toothpaste” type of texture;
- Once tea is boiling add the Cassava flour and whish until thickened, remove from heat;
To assemble the cake:
- Cut the cake tops off to get 8 perfect levelled cakes (we’re making two cakes with 4 layers on each cake;
- Spread the buttercream lightly in between the layers and top off each cake with small dollops of the buttercream (us a #3A round tip);
- Add some left over pumpkin seed bits and gently scatter on top of the cake as well as on the board;
- Use the Hibiscus gel to drizzle over the cake and drop little droplets all around onto the plate, can even do a brush effect;
- Have a glass with water and a big spoon ready and make 3 quenelles of ice cream (dipping the spoon in water each time before you make the next quenelle) – one quenelle on the bottom next to the cake and the other two on top of the cake.
- If you’re lucky enough and find a whole bud of dried hibiscus and a few pinkish coloured leaves – scatter over the cake and finish off with that special bud on top – maybe add a sprig of mint as colour too;
- I used a black plate and it worked brilliantly with the colours